How to create AppWrite function from scratch?
Appwrite is a Backend as a service BaaS provider that many developer use for their own personal projects as It make the development more fast and easy because the core functionality has already been provided on their SDK. One service that it provide is cloud function where you can write a logic as if it is your own backend and send get, put, delete and other request method just like you would on a normal endpoint.
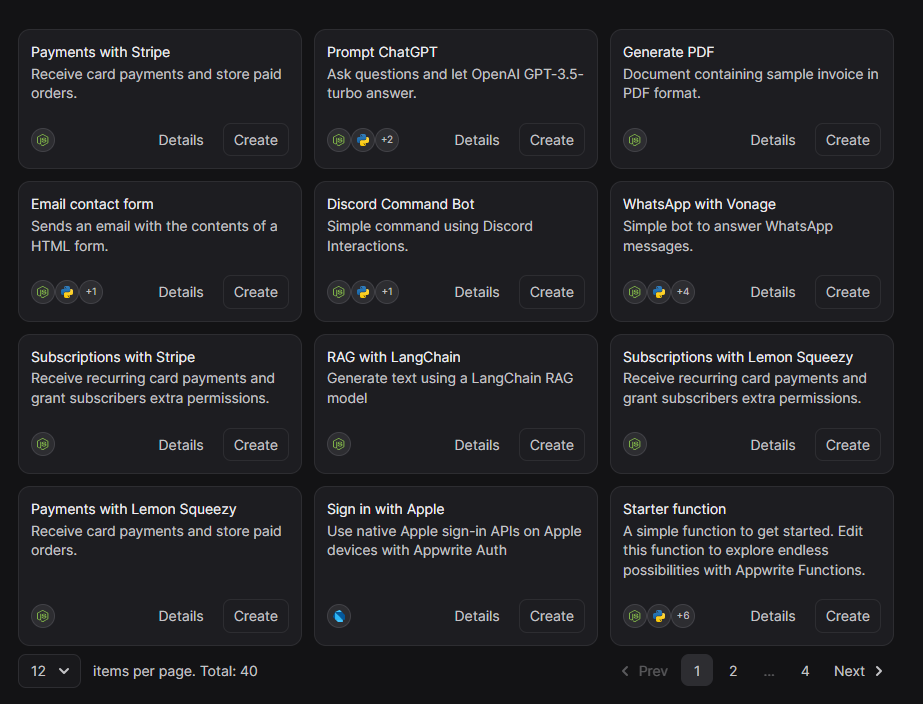
Creating an endpoint with Appwrite is so easy specially that they provide template for you to get started But if for some reason you can't create a function or having an issue with the deployment of the template function just like what happen to me today in which I spend painful 3 hours testing out different things to create a function so your best option is to create your own function from scratch and that Is what I will be sharing in this blog post today.
The process is mainly on four steps.
initialize your node project > create remote repository > connect your remote repo to your local repo > create a function and connect it to the existing repository.
Initializing your project
To start create a folder for your function what you wish to create. I will assume that you already have the necessary tools like Nodejs and a code editor like VScode. So go ahead and open the folder that you created in VScode, Open your terminal by clicking the Terminal and select New Terminal or press ctrl + shift + ` on your keyboard and run the ff. command.
npm init -yYou should a package.json file created that will contain necessary information for our project just like the image below.
{
  "name": "creating-appwrite-function-from-scratch",
  "verstion": "1.0.0",
  "description": "",
  "main": "index.js",
  "scripts": {
    "text": "echo \"Error: no test specified\" && exit 1"
  },
  "keywords": [],
  "author": "",
  "license": "ISC",
  "type": "commonjs"
}
Before going to our next step it is always good to tailor the package.json file based on what our project will be doing. In this case I would change the "type": "commonjs" into "module" as I will be using the modern import method rather than the old require method. I will also be changing the "main":"index.js" to "src/main.js" as I will be editing the folder structure and put the entry code main.js inside the src folder.
{
  "name": "creating-appwrite-function-from-scratch",
  "verstion": "1.0.0",
  "description": "",
  "main": "src/main.js",
  "scripts": {
    "text": "echo \"Error: no test specified\" && exit 1"
  },
  "keywords": [],
  "author": "",
  "license": "ISC",
  "type": "module"
}
After editing create a src folder and inside create a new file named main.js and add the sample code below. Now we are ready for the next step.
export default ({res, req, log, error}) => {
  return res.text("Hello There!!")
}
Creating New remote Repository
Go in to your github account and click the green button that says new. You should be navigated to new page just like below.
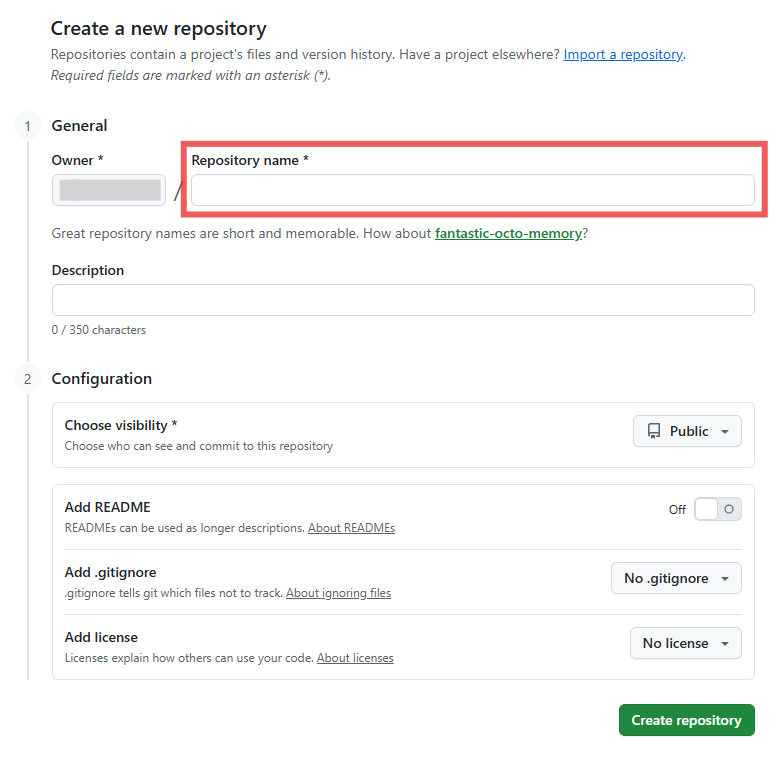
Create the name of the Repository that you want to create. If you don't want other's to see your repository for some reason just click the dropdown button beside he public and choose private or else you can everything default and click Create repository and you will be navigated to a quick setup page.
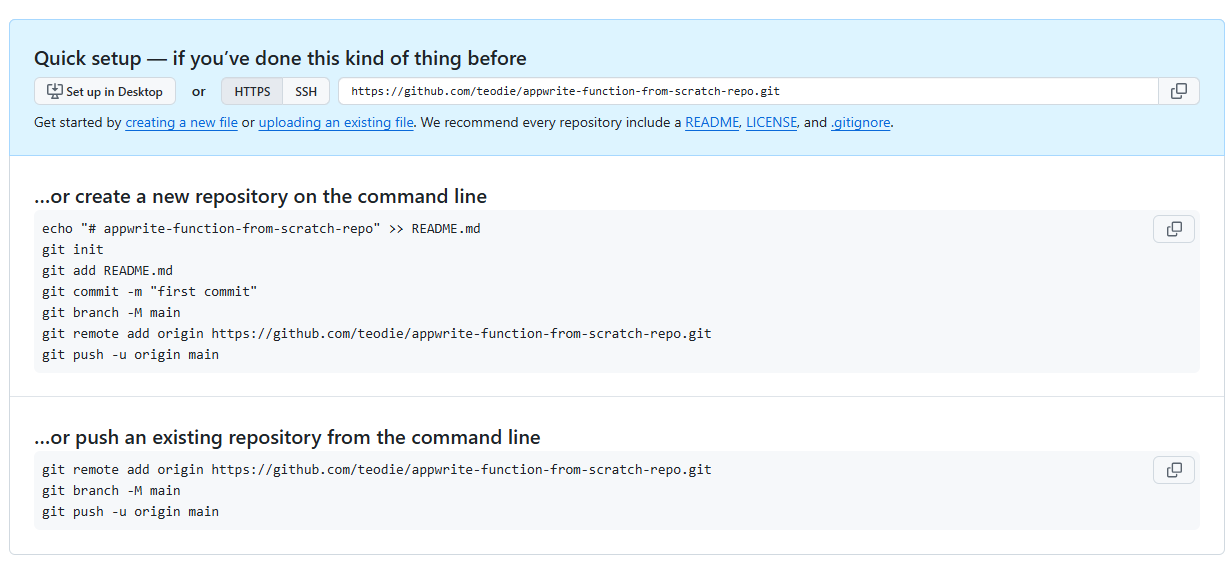
We already have the folder and the files created we just need to initialize git on our folder to keep track of our changes we can do that by following the command given by github.
echo "# appwrite-function-from-scratch-repo" >> README.md
git init
git add -A
git commit -m "first commit"
git branch -M main
git remote add origin https://github.com/<yourgithubname>/appwrite-function-from-scratch-repo.git
git push -u origin main
After running the command above your repository should now setup and connected to github repo. You can check by running git status in the terminal and should say that "nothing to commit, working tree clean".
Dependency Installation
Now that our repository is ready we can begin installing dependencies for our function and for our project to work with appwrite we need their node SDK which is node-appwrite.
npm install node-appwrite This command will create package-lock.json file that will contain locked dependencies to be use for the project to avoid peer conflict between packages and a node_modules folder that contain all the code for our packages installed.
Now before committing we should add a .gitignore file to avoid the node_modules being committed to our repository as it will be heavier the more packages we use so got ahead and create a new file named .gitignore then inside add.
# Avoid commiting dependecy code
node_modules/
Now we can commit our changes.
Connecting AppWrite function
Go to you appwrite console and select the project that your working on and select function in the left hand side of the screen. and click "create function" button. Connect your git repository in appwrite and provide access. once done select your repository that you want to connect and click connect.
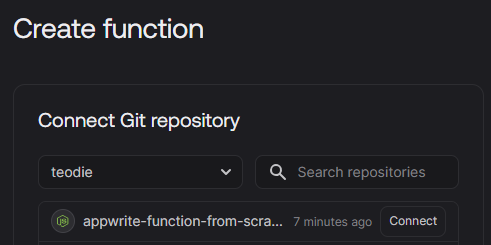
You will be navigated to different page with the setting that we want for our function like runtime entry point and function ID.
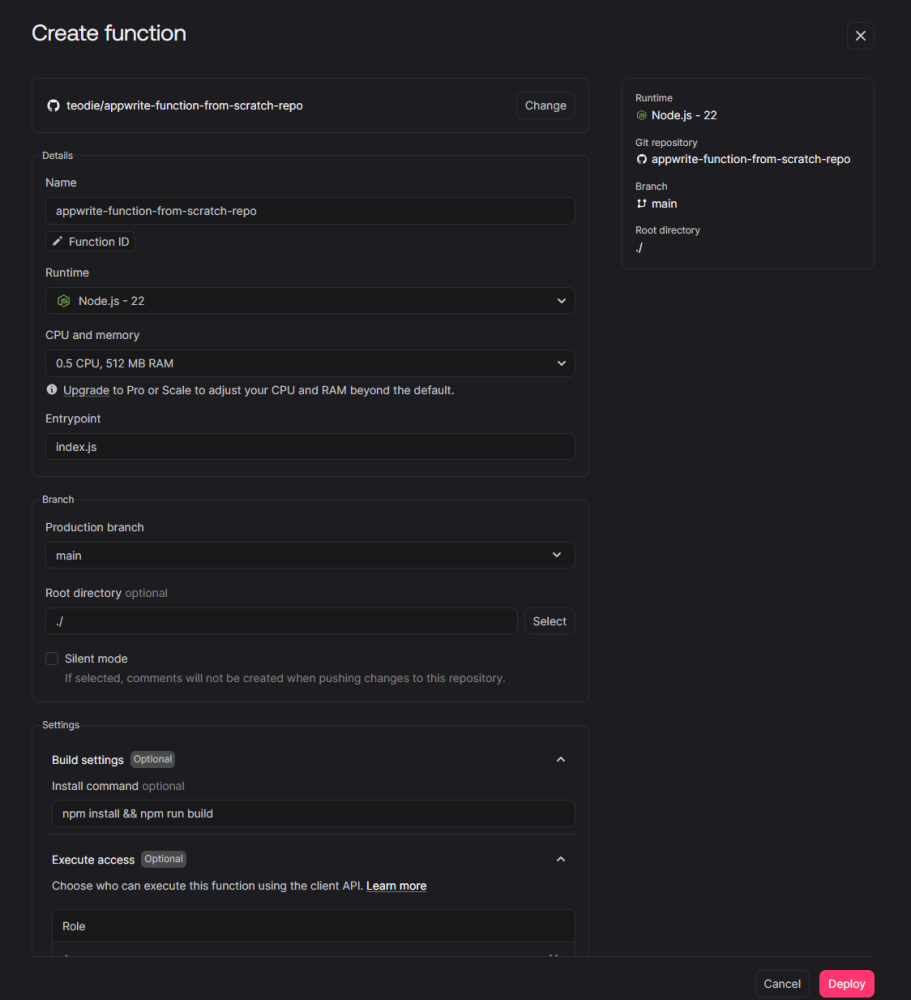
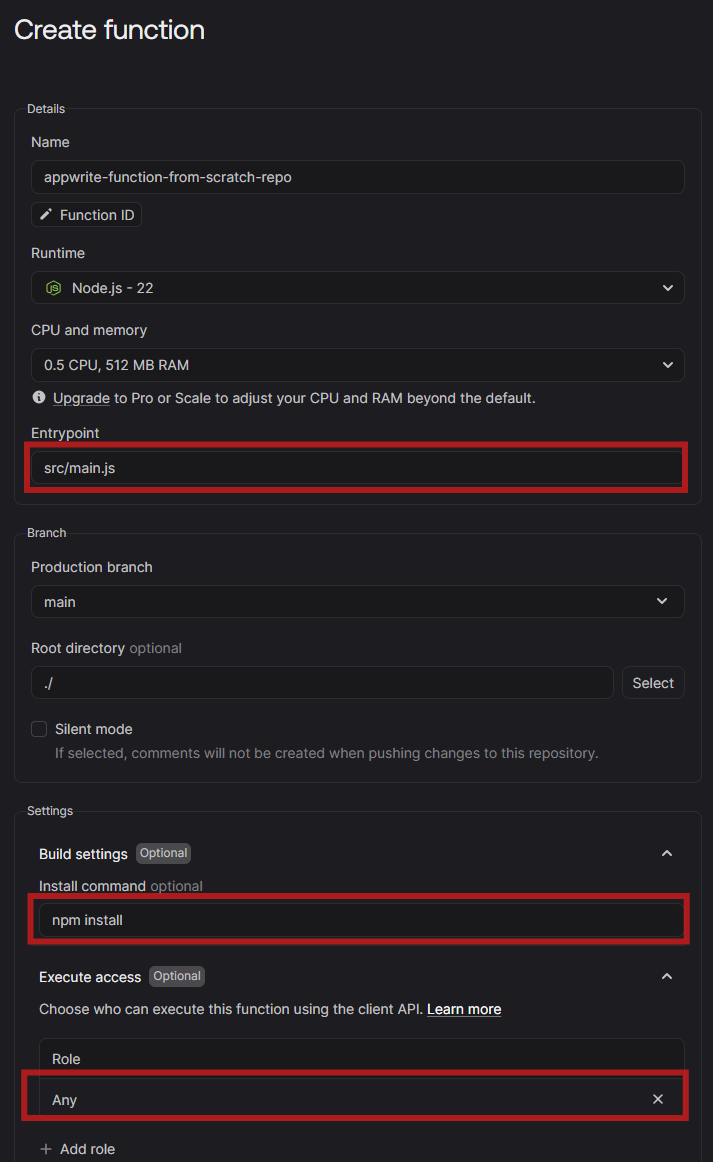
Here we can see that the entry point is index.js and just change that to src/main.js and under settings the install command is npm install && npm run build, We need to remove the npm run build part since we don't have build script in our project so It should only be npm install to install the dependecies and edit the Role under the Execute access and add "any" so that anyone can run your function. After editing it should look something like below and hit the Deploy button.
You will be navigated to different page just like the image below where you can see the overview of your function as well as you deployment status under the deployments table.
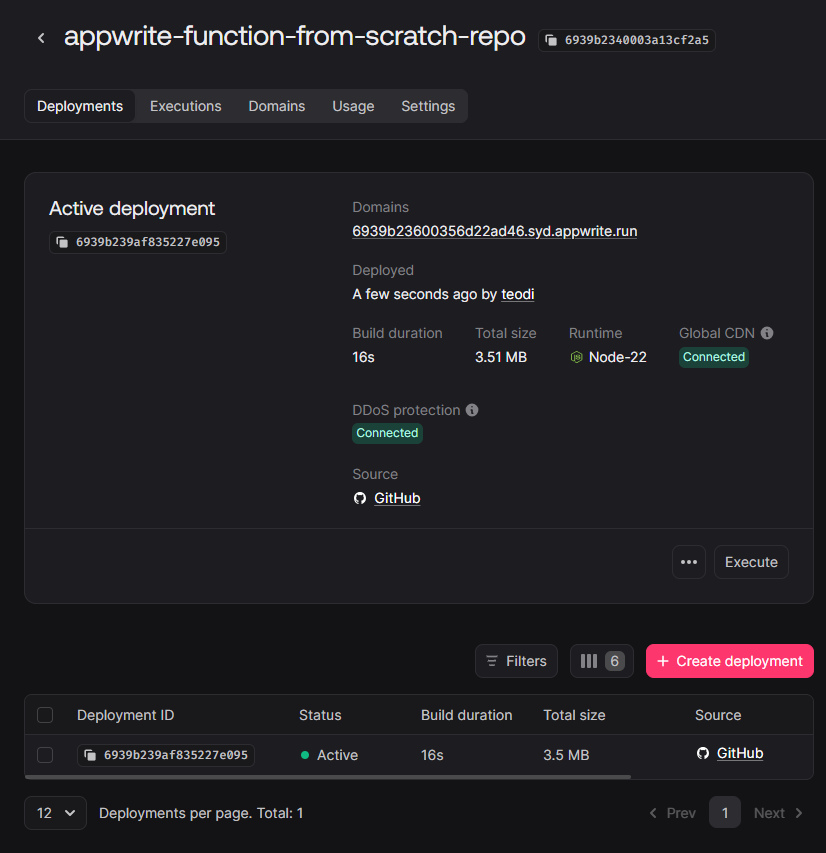
Now that our function is active we can now test if the working by copy and pasting the our deployment Domains in your browser of choice and once loaded you should get a message just like below.
Hello There!!And now the function is completely functional and ready to be edited based on your project needs. Hopefully this post help you with your project. Happy coding !